Hi everyone, it’s Mitch here.
In today’s dev blogpost I’ll be looking at the process of creating urban environments in BeamNG, particularly at the interface of heightmap terrain and mesh objects. I’ll be building heavily on the workflow already established in LJFHutch’s tutorial, so you may want to read that first if you’re a modder interested in the technique. This time, instead of just modeling the roads, I’ll be modeling the entire terrain in Blender.
An urban area consists of terrain that has been heavily landscaped to make way for highways, tunnels and streets. The density of the roads is so great that the natural form of the landscape has all but disappeared, so instead of starting the modeling process with the terrain, I will begin by laying out the roads.
The first step is to create the shape of all the roads planned for the map as bezier curves (splines). This will allow me to use the splines to shape both the roads lying on terrain and, later on, the overpasses.
With the road layout completed as bezier curves, it is time to begin assigning meshes to the curves. Using the array and curve modifiers, the roads can be made to follow the bezier curves and basic lane and shoulder widths can be determined.
Once completed, the perimeter vertices of the road meshes can be selected using ctrl+shift+alt+M. Duplicated and select the perimeter vertices, split them to their own object and apply all modifiers. Now I can begin bridging the areas between road perimeters with faces, filling in the empty spaces between roads with what will become terrain.
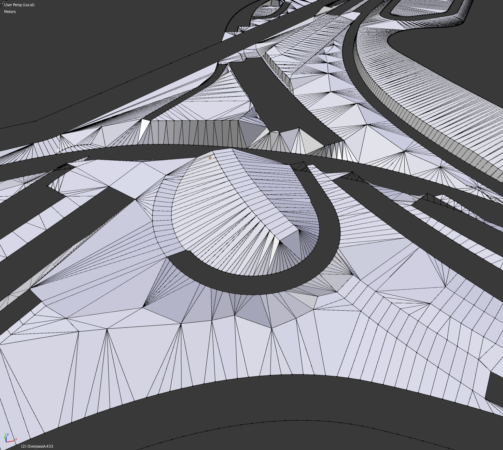
The terrain will have large polygons and be lacking in detail, but this can later be improved upon using the sculpt tool.
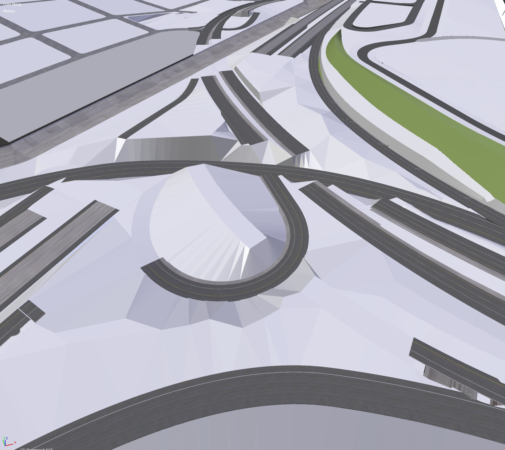
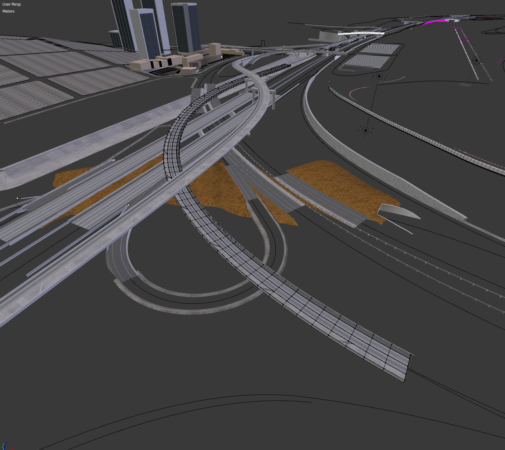
Once all the area between roads has been filled, I have the basis for a heightmap which can be rendered in 16-bit BW using the technique in LJFHutch’s tutorial (the image below has exaggerated contrast for clarity). If imported into BeamNG’s level editor, the resulting terrain will contain smooth roads and sloping terrain.

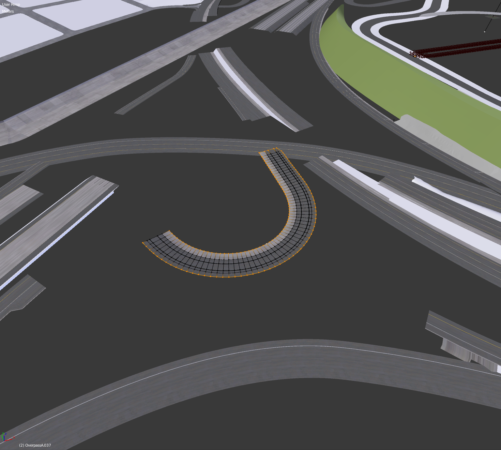
However, the roads won’t be very safe to drive on yet as all the bridges and overpasses are missing. I can create these by returning to Blender,copying the existing road meshes and then sliding them along their curves until they occupy the desired location of the overpasses. The meshes can be extruded to become 3D, and guardrail geometry added to the edges. If the guardrails are complex they will require a simplified copy of the overpass mesh (still deformed by the bezier curve) to use as a collision mesh when it comes time to export to .dae.
Check that the start of the overpass butts up neatly against the end of the road. Then extrude the end of the road approximately 5 metres and lower it by 0.2m to generate a ramp which gradually falls away from under the overpass. This will result in a heightmap which recedes once the overpass begins, and will eliminate any potential spiky artifacts at the transition, caused by rapid changes in terrain height. You can see how this works in the cross-section below:

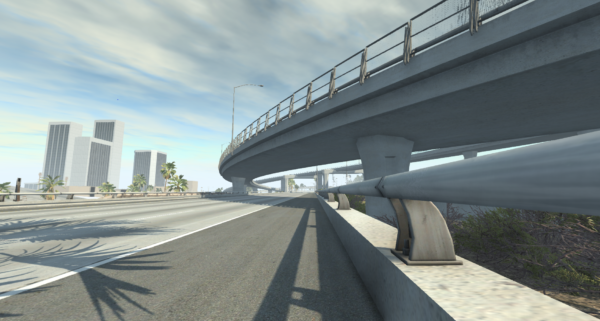
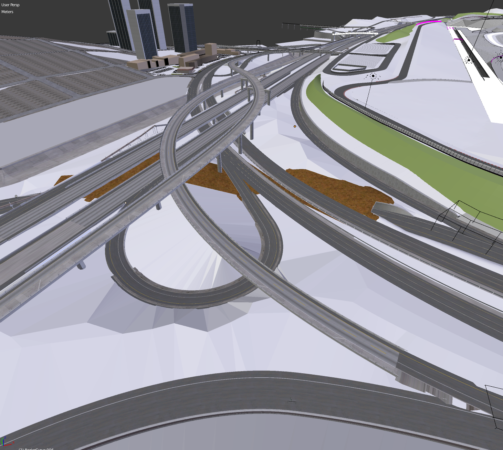
After exporting all the overpass meshes to a .dae, loading the mesh in the BeamNG level editor, and aligning it with the heightmap, I now have a perfectly drivable urban landscape.

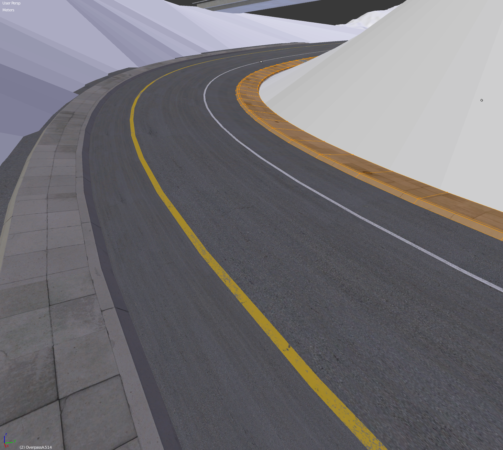
To add roadside details such as curbs, simply select an edge loop of the road mesh, split it to a new object, and begin extruding the shape of the curb. In the image below, the road will be rendered to a terrain heightmap, and the curbs will be meshes which perfectly align with it. There’s no need to worry about getting a smooth curve, as this is already taken care of by the bezier curves, influencing the mesh’s modifiers. Make sure to keep a working copy of the bezier curbs and their road meshes, and duplicate them before converting to mesh and exporting. That way any road changes you make retain the influence of the bezier curve.
Additional arrays of objects can be added along the curves, and even exported as forest items for fast rendering of objects like guardrail supports, but that will be covered in a future tutorial.